
System
1. System
(1). System Properties
Identify the device through system properties, view the device's Local Time and Timezone, and customize the Hostname.
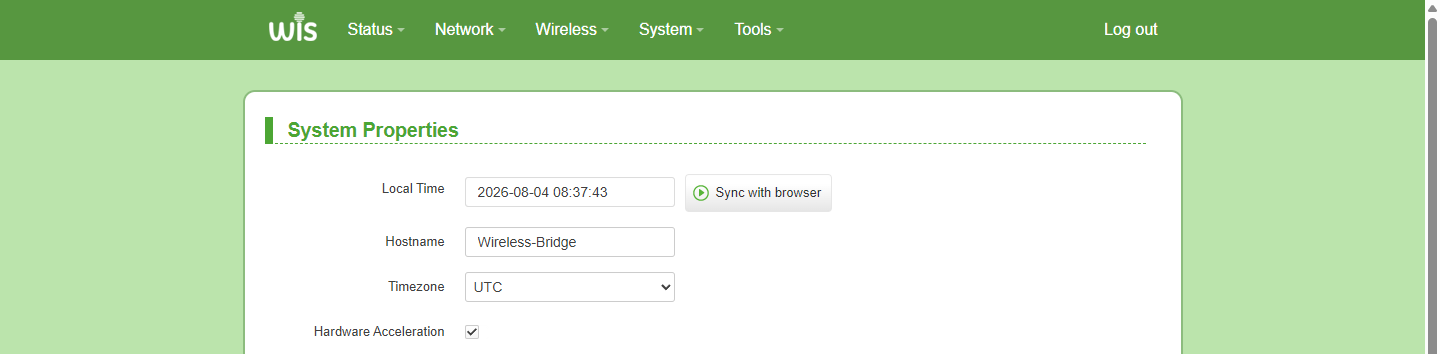
Parameter Description:
| Parameter | Description |
|---|---|
| Local Time | Displays the device system time. After changing the time zone, you can correct it by clicking the time verification button (the default time zone is UTC). |
| Hostname | Device identifier, used to uniquely identify and distinguish different devices in the network. |
| Timezone | Time zones are UTC-based regions that standardize local time. Due to Earth’s rotation, longitudes have different day-night cycles. The world is divided into 24 theoretical zones of 15° longitude; boundaries are adjusted for administrative and national borders. |
| Hardware Acceleration | Hardware Acceleration offloads traffic forwarding to chip hardware to reduce CPU load and boost throughput. Availability depends on SoC support; certain advanced network features may not work while enabled. |
(2). Language and Style
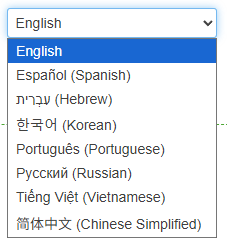
Select system language and page style.

Language options: English, Spanish, Hebrew, Korean, Portuguese, Russian, Vietnamese, Chinese Simplified.
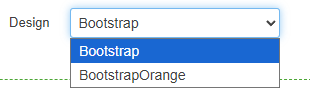
Page style supports the selection of Bootstrap and BootstrapOrange.
(3). Web server
A web server is a network-based (usually the Internet) software system that aims to enable data interaction and function sharing between different systems through standard communication protocols (such as HTTP/HTTPS).
Check Secure Connection (HTTPS) to enable HTTPS protocol access.

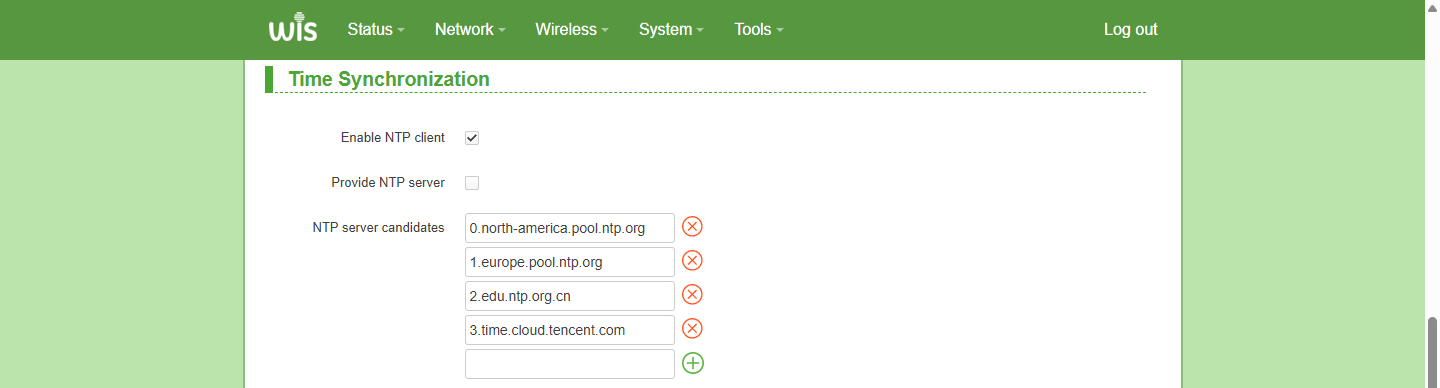
(4). Time Synchronization
Time synchronization refers to the use of technical means to keep the clocks of different devices in the network (such as servers, computers, routers, etc.) consistent. Accurate time synchronization is crucial in scenarios such as distributed systems, financial transactions, log auditing, and scientific computing.
(5). Logging
Log server configuration, which can increase the size of log cache, etc.
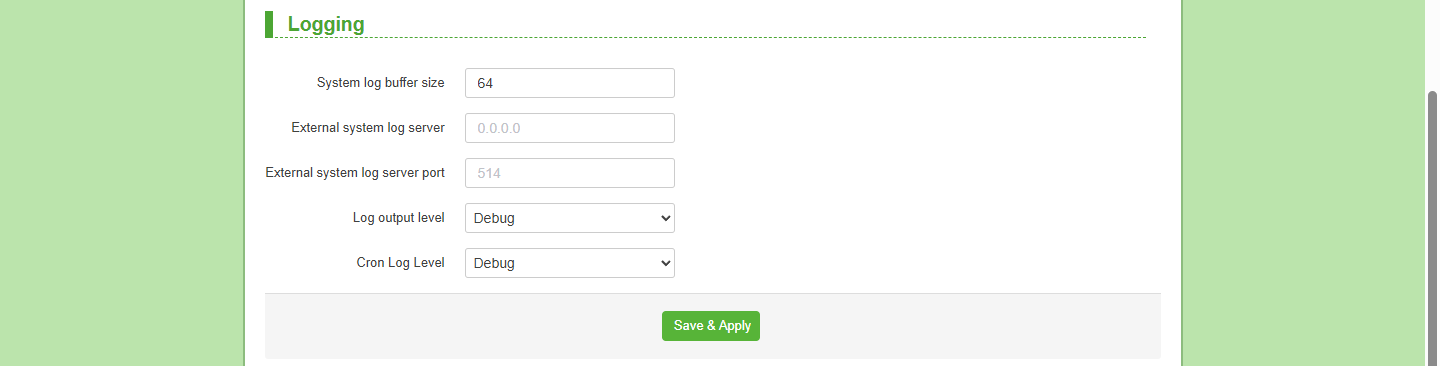
2. Administration
Changing the administrator password for accessing the management interface.
Go to System > Administration to open this page.
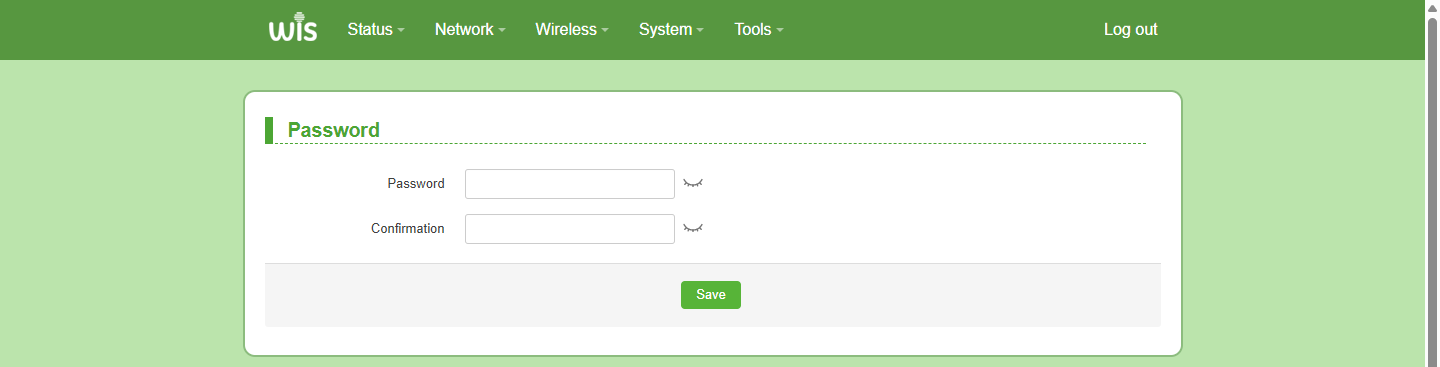
Note:Click the eye icon to view the entered administrator password. The password here only applies to the administrator login password, not the Wi-Fi password.
3. Backup and Upgrade
(1). Backup
Back up the software configuration to facilitate import into other devices.
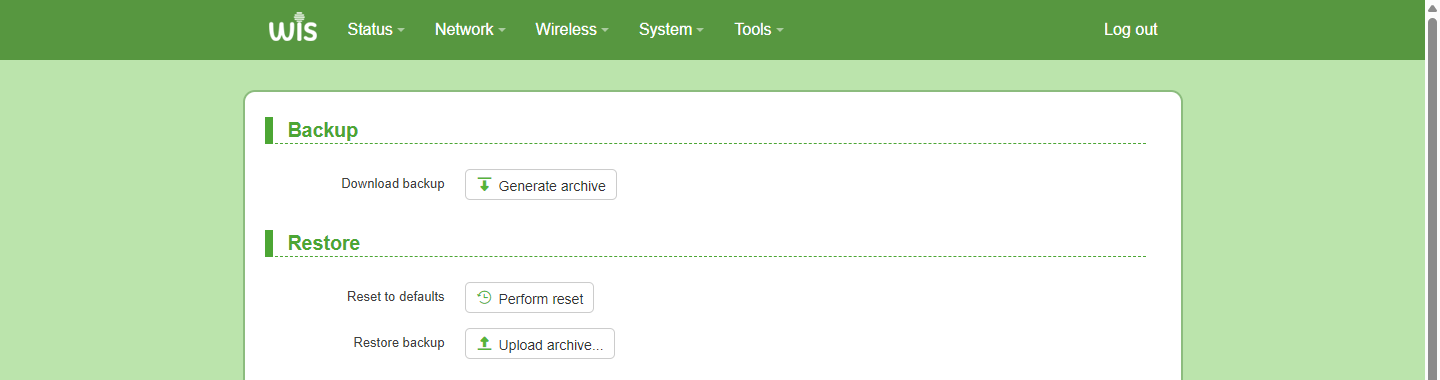
Backup steps:
- Click "Generate archive".
- Specify the backup file path. It is recommended to modify the file name.

3.Select the backup file to upload.
Restore backup steps:
- Click "Upload archive".
- Click "Browse".
- Select backup file to upload.

- Confirm the uploaded file and click "Upload".

- Find the button "Continue" and click.

- Wait for the backup to be restored. Once configuration restore completes, the page redirects to the login screen automatically.

Note: Do not power off the device or disconnect the Ethernet cable during restore, or the process will fail.
(2). Restore
Through "Perform", the bridge configuration is restored to factory settings, and the configuration can also be restored to factory settings through the hardware (RST) key.

Steps:
- Click "Perform reset".

- System pop-up prompt“Do you really want to erase all settings?”, then click “Yes”.
- Wait for firmware initialization.

- Device configuration reset complete.
Note: Do not cut power or disconnect Ethernet during factory reset, or the reset will fail.
(3). Upgrade
Upgrade the firmware version.

Steps:
1.Click "Flash image...".
2.Click "Browse...", select the correct software version.

3.Confirm that the firmware has been uploaded correctly and click "Upload".

4. Waiting for firmware to upload.
5. Click "Continue", if you need to keep the original configuration after upgrading, check "Keep settings retain the current configuration". If you do not want to keep the configuration, do not check "Keep settings retain the current configuration".

6. Wait for the firmware to upgrade.

7. After the upgrade is completed, it will automatically jump to the login interface.
Note: Do not power off or disconnect Ethernet during firmware upgrade, otherwise the system may become corrupted.
4. Reboot
(1). Reboot
Restart the system immediately.

(2). Schedule Reboot
Specify a device system to restart at a fixed time period. This function is often used in scenarios such as releasing resources, application updates, and fault self-healing.

Setup Steps:
1.Go to System > System Properties;
2.Change “Timezone” to the local time zone;

3. Scroll to the bottom of the page, click "Save & Apply";
4.After configuring the application, click "Sync with browser" , the local time is converted to the local browser time;
5.Go to System > Reboot > Schedule Reboot, the current time has been converted to the local browser time;
6.Enable: Enable scheduled restart;
7.Time: You can select the corresponding time through the clock table, or manually enter hour and minute values (e.g., 09:00);
8.Week: Select the days of the week to trigger automatic reboot. You can select all or select one, such as Monday/Thursday;
9.Click "Save & Apply", complete configuration.

5. System Log
System Logs are files storing system running status, events and error logs.
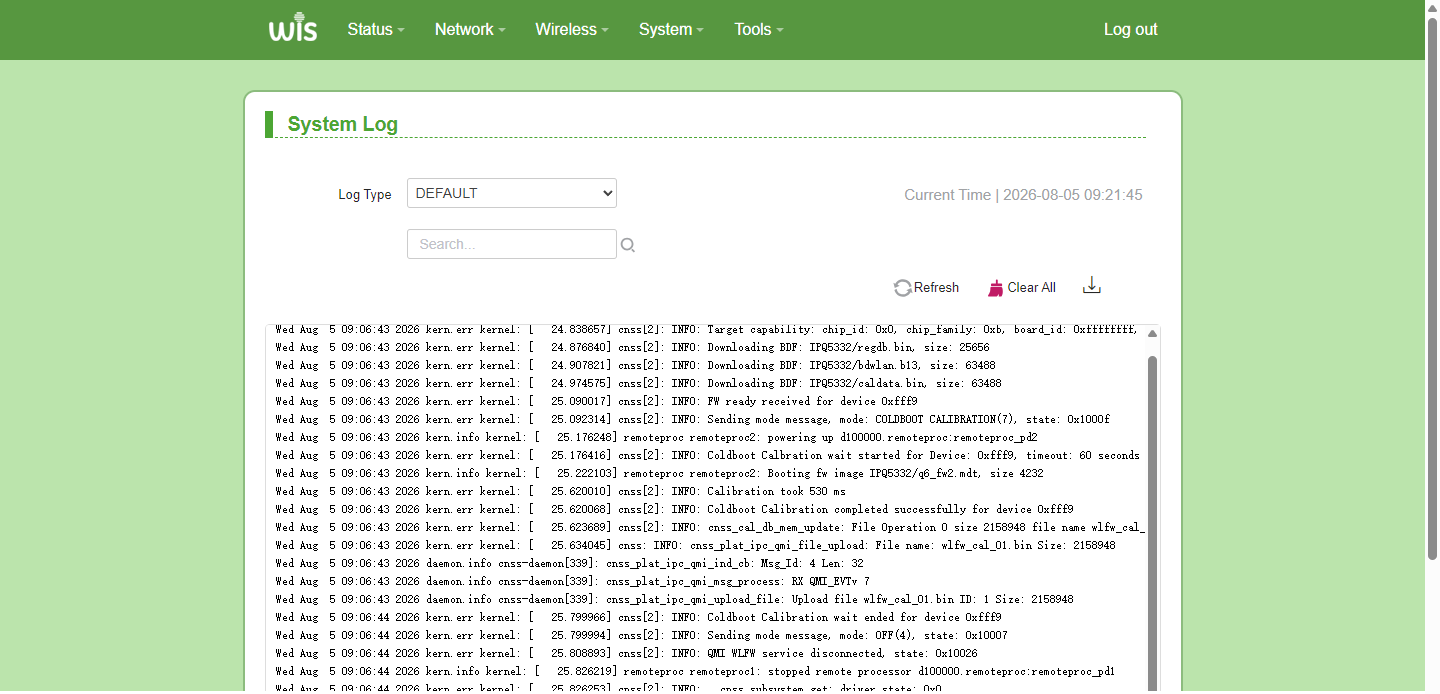

Use the Log Type drop-down menu to filter log severity levels: DEFAULT, DEBUG, INFO, NOTICE, WARNING, ERROR, CRIT, ALERT, EMERG.

Through the "Search" filter box, filter the specified information, such as filtering: cfg. Input completed, then click "Search icon".